Atlas organizes access into three layers: domain, account, and user. A little planning here lets you give each teammate, tool, or AI assistant exactly the access it needs, and nothing more.
- Add a user to give someone a login, with the credentials and two-factor (2FA) settings, for an account.
- Create an account to give a person, tool, or AI assistant its own scope. An account owns its resources and carries a role (Atlas Admin, Atlas User, or Atlas ReadOnly) that decides what it can do.
- Create a domain to separate environments such as prod and dev, or to keep tenants apart. A domain groups accounts and is the billable unit.
See the Glossary for the full definitions of Domain, Account, and User.
Administrator privileges
Adding users and accounts requires an account with the Atlas Admin role in the parent domain; without it, the Accounts menu does not appear in the console. Adding a domain does not require Atlas Admin, so an Atlas User can do that as well.
Add a user to your account
A user is the login itself, with its credentials and two-factor (2FA) settings, and it belongs to an account. Add a user to give someone sign-in access to that account and the resources it owns. When a person needs to work across more than one scope, you can configure more than one account for them.
-
In the console, open the Accounts view and open your account.
-
In the account’s left panel, click View Users.
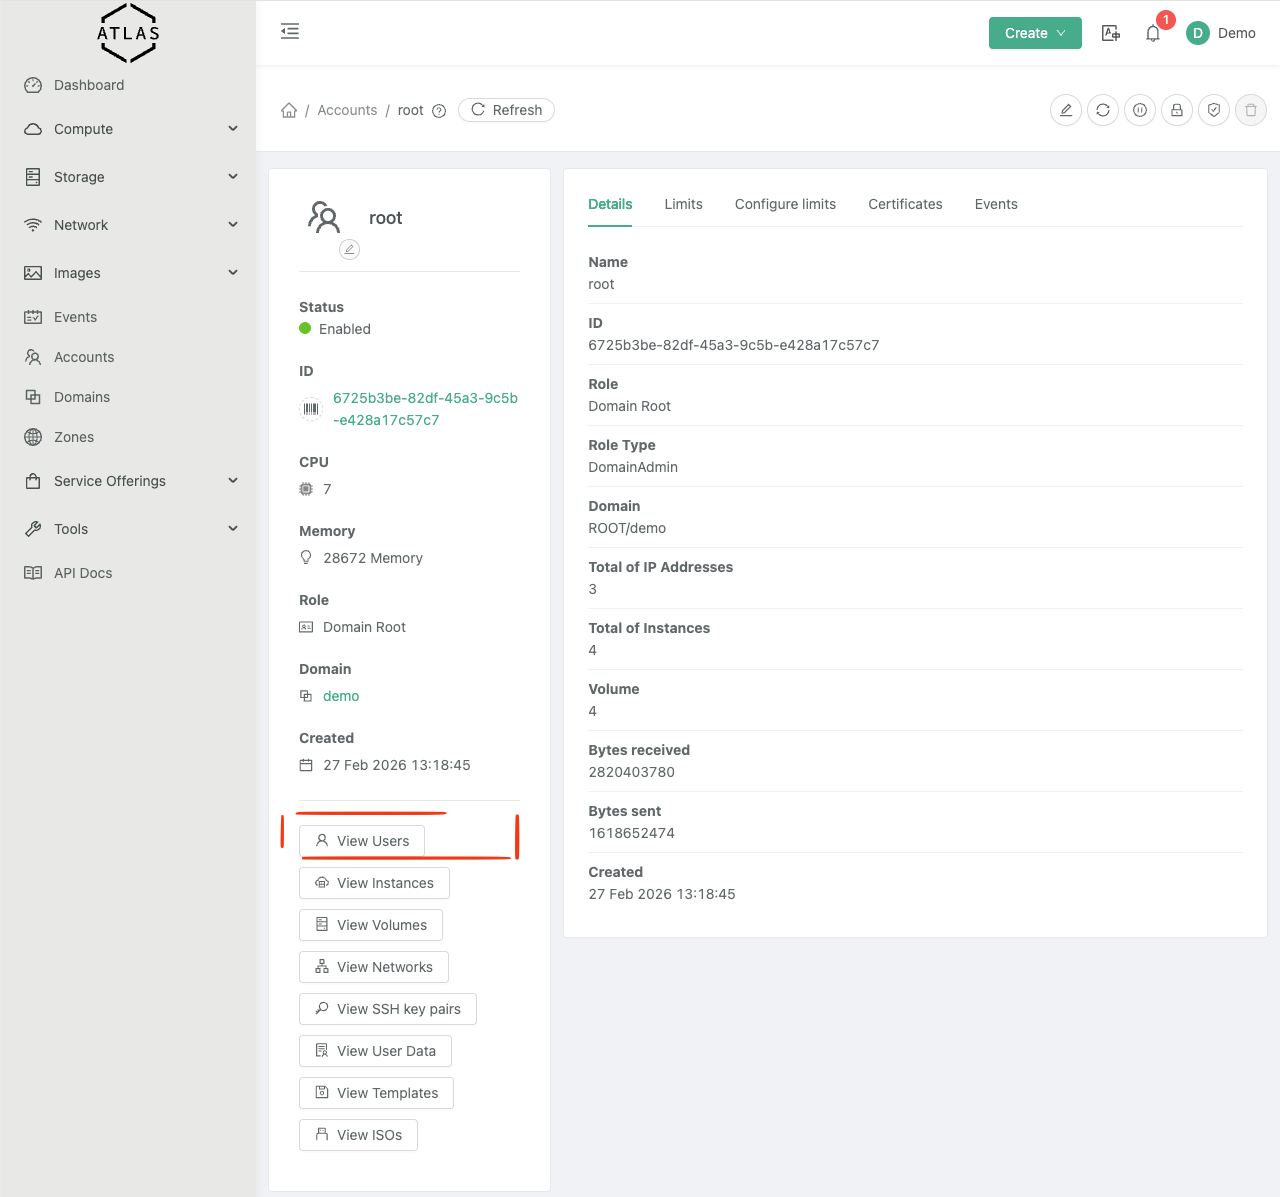
-
Click Add User +.
-
Fill in the username, password, email, and first and last name.
-
Click OK.
The new user appears in the account’s user list and can sign in at sky.runatlas.is with those credentials.
Create a new account
Create an account to give a person, tool, or AI assistant its own scope. The account owns whatever resources it creates, and its role decides what it is allowed to do. Creating an account also creates its first user.
This is the key to least privilege: an Atlas ReadOnly account for a tool that only needs to look, an Atlas User account for an automation or AI assistant that builds and changes things but must not delete them, and Atlas Admin only for the people who manage the domain itself.
-
In the console, open the Accounts view.
-
Click Add Account + and choose a Role:
- Atlas Admin: full control over its domain and any sub-domains, including creating accounts, removing resources, and managing object-storage buckets.
- Atlas User: can view and edit resources, but not perform destructive actions such as deleting them.
- Atlas ReadOnly: can view resources but cannot create, edit, or delete them.
Object-storage buckets are Atlas Admin only: Atlas User and Atlas ReadOnly accounts cannot list or manage them. See Buckets for why.
-
Fill in the remaining fields, including the username, password, email, and the domain the account belongs to.
-
Click OK.
The account appears in the account list, and its first user can sign in with the credentials you set. Resources it creates stay within the account.
Create a domain
A domain groups accounts and can hold sub-domains. It’s the right boundary when you want to separate environments, such as a prod domain and a dev domain, or to keep distinct organizations or tenants apart. A domain is the billable unit.
- In the console, open the Domains view.
- Click Add Domain +, enter a Name, and click OK.
The new domain appears in the domain list. You can then create accounts inside it using the steps above.