Introduction
This is the end-to-end first run: a Virtual Machine on Atlas Cloud and an SSH session into it from your laptop. We go through it in the order the console wants, network first, then the VM, then the public IP and firewall rules that let you in. Every step pairs the instructions with a screenshot so you can match what you see on screen.
Logging into the Atlas Cloud Platform
Open the console at sky.runatlas.is and sign in with your username and password.
Creating your first network resource
A VM needs a network to live on, so that comes first. You want an isolated guest network, the kind that gives each VM its own private space behind a managed gateway.
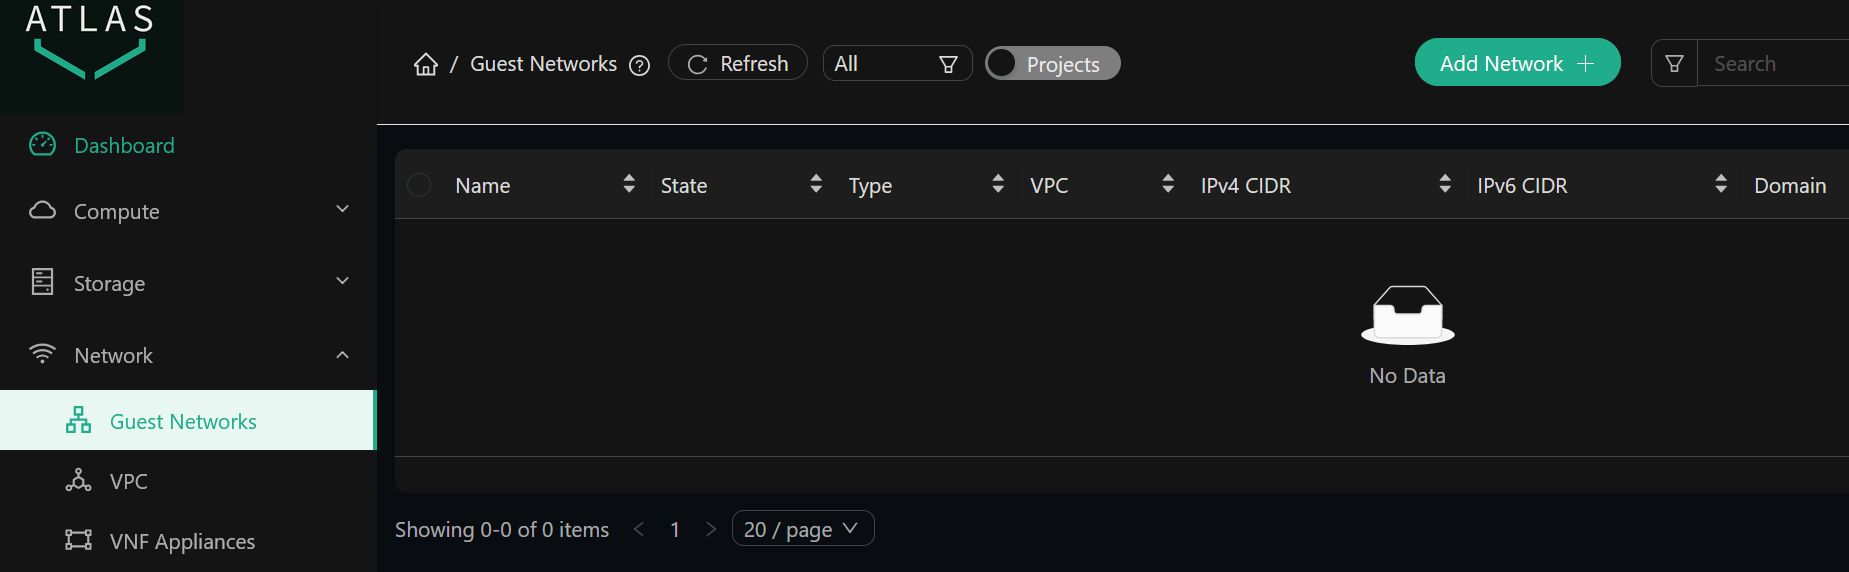
Go to Network > Guest Networks and click Add Network.
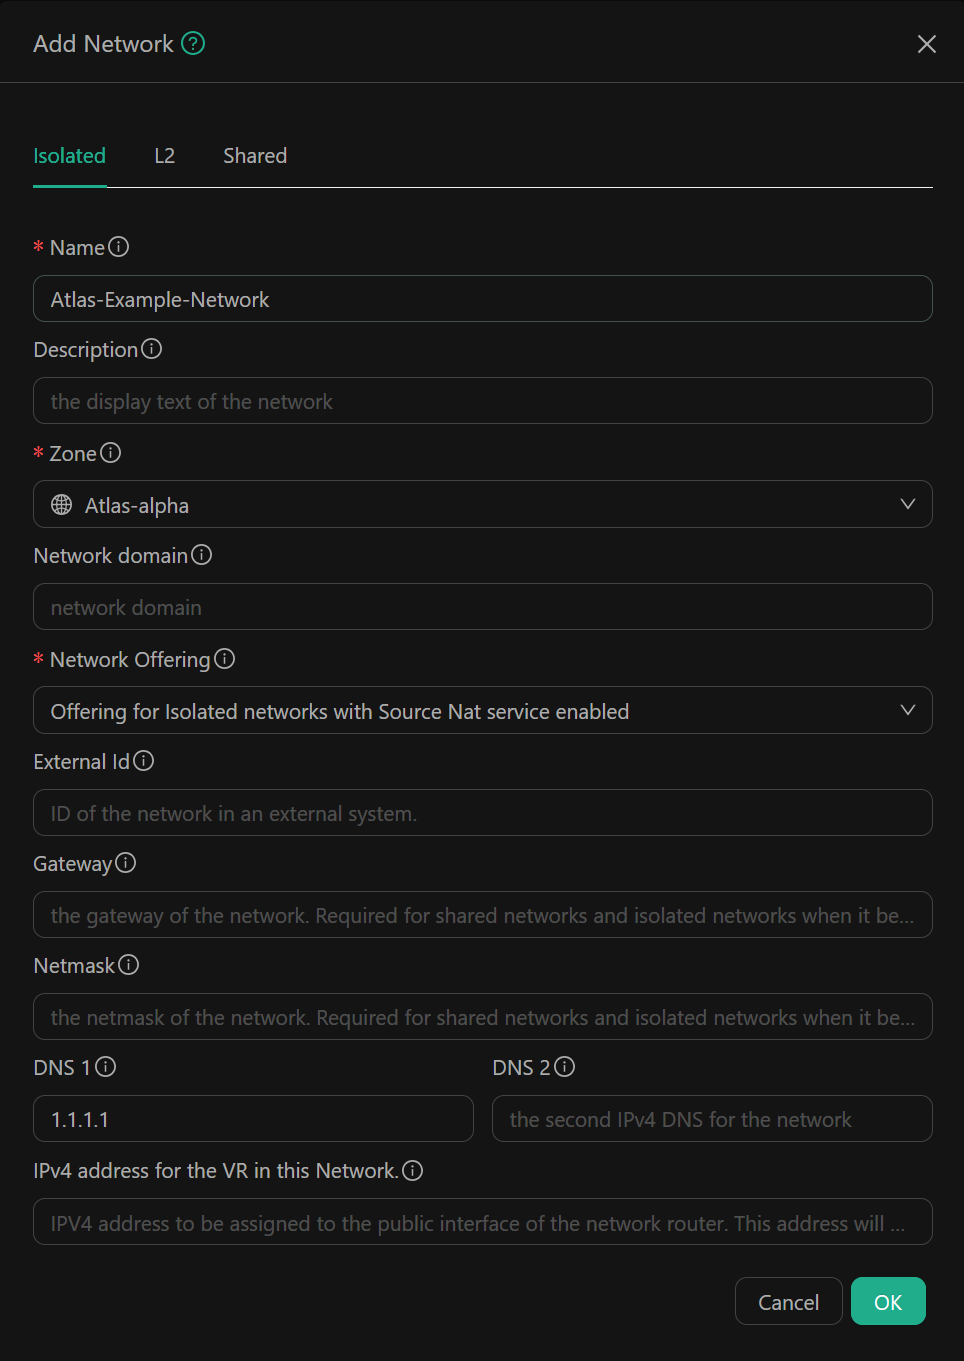
Pick the is1 zone, name the network, and choose an isolated network offering that bundles Source NAT, port forwarding, and the egress firewall. Submit the form.
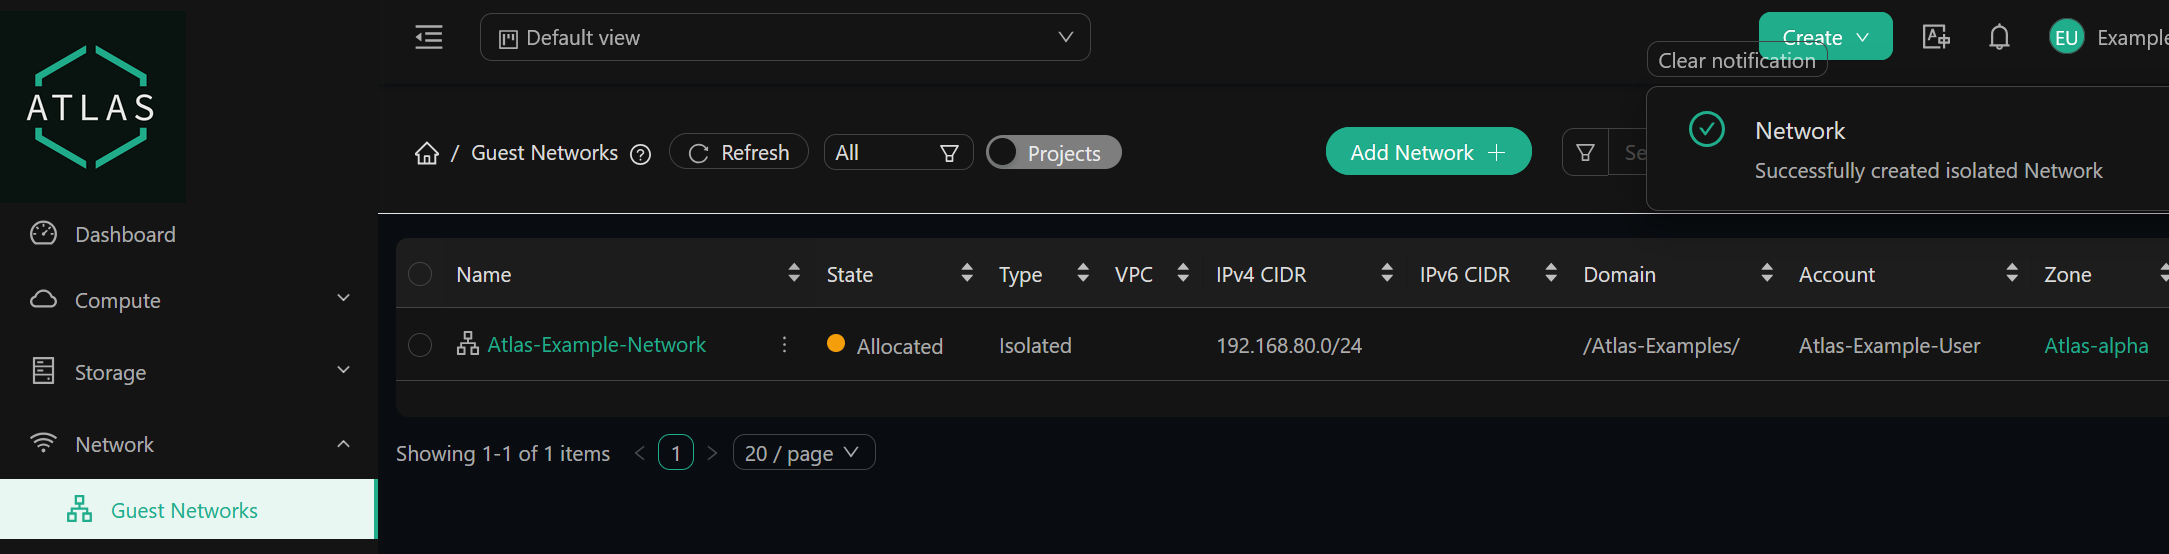
Once it’s created, the network shows up in the Guest Networks list.
Creating your first Virtual Machine
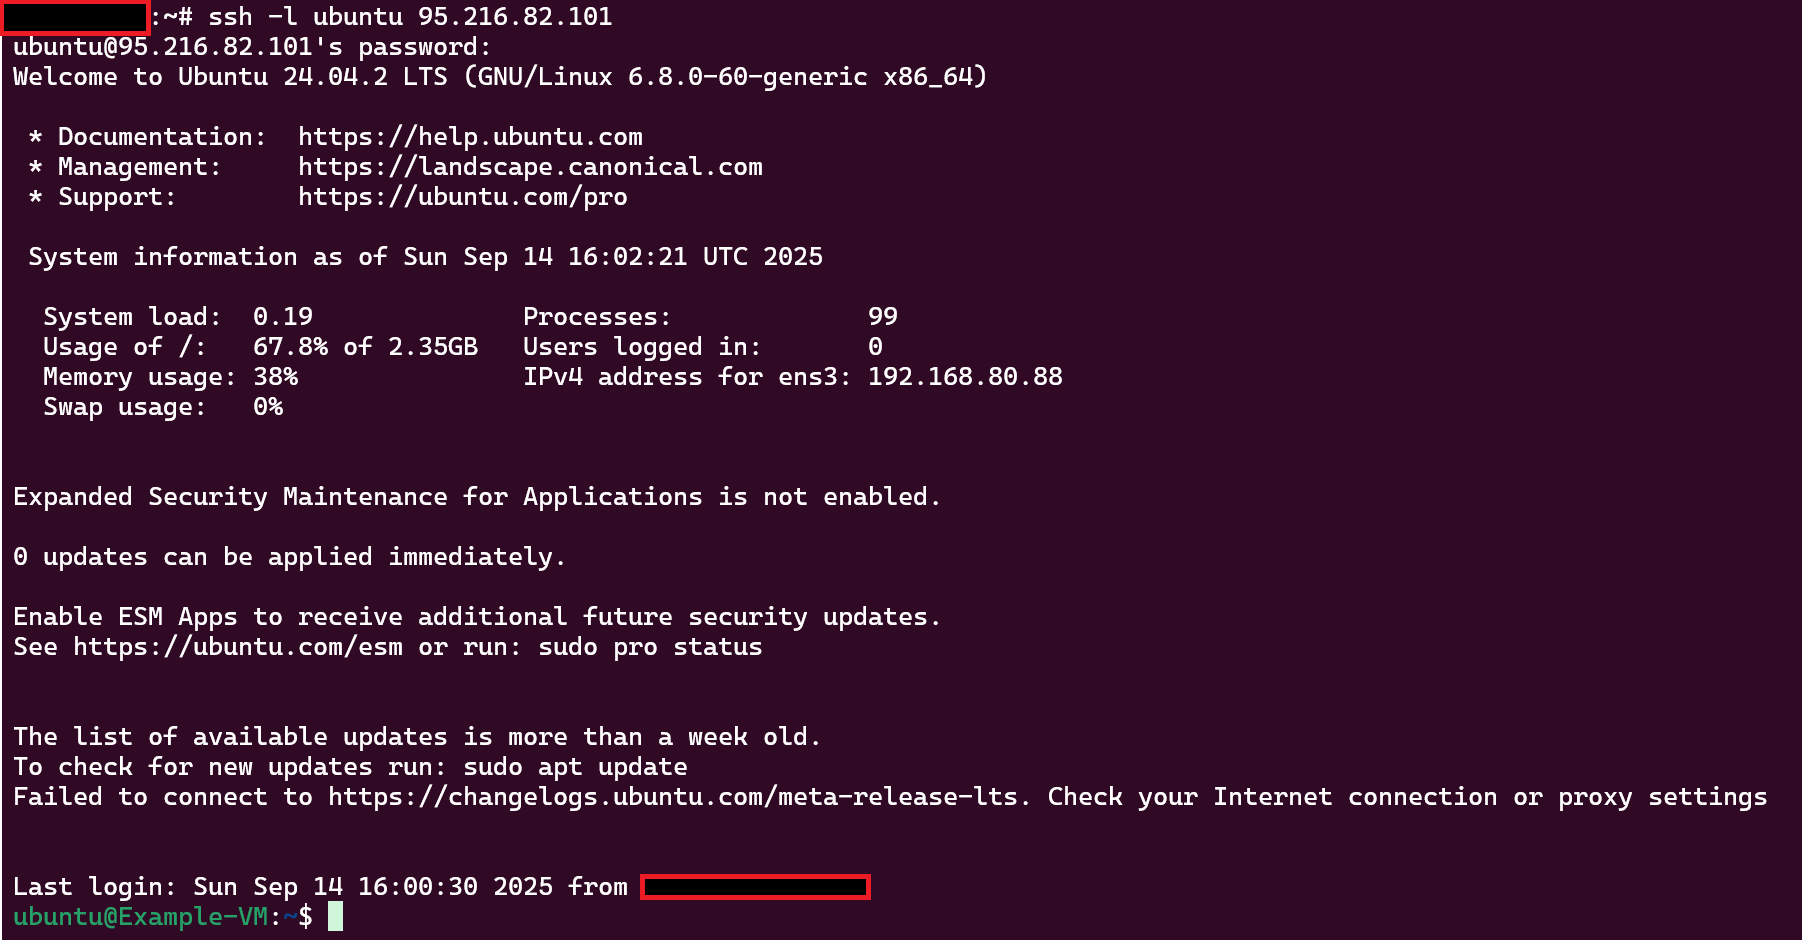
With a network in place, you can provision the VM itself. Go to Compute > Instances and click Add Instance.
![]()
Fill in the instance form. Set the Zone to is1 and pick a Template, Ubuntu 24.04 is a safe default. For the Compute offering, choose something from the Atlas.aN range such as Atlas.a4 or Atlas.a5; if you’re not sure what’s available, run cmk list serviceofferings for the list. Attach the guest network you just made under Network, and add your SSH key so you can log in later (no key yet? the SSH Key Pairs guide covers that). Submit, and the instance lands in the Instances list as it launches.
Creating NAT and Firewall Rules
The VM exists but nothing can reach it yet. Three things fix that: a public IP, firewall rules that open the ports you care about, and port forwarding that sends those ports to the VM.
Start by acquiring a public IP for your guest network under Network > Public IP Addresses.

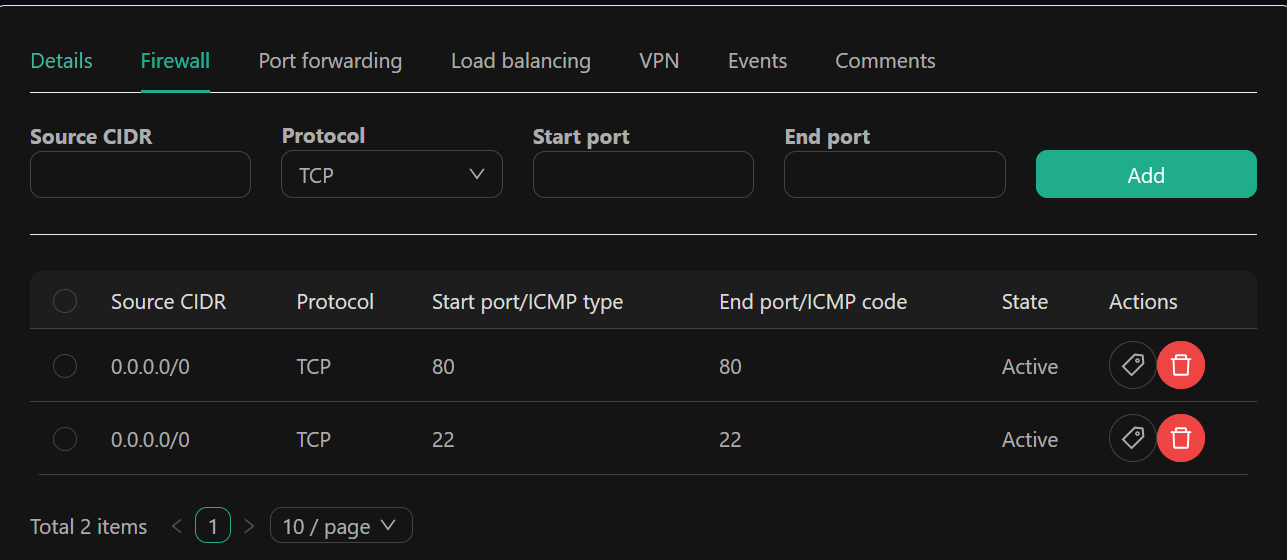
Open that IP and go to its Firewall tab. Add an ingress rule for each port you want exposed; for SSH that’s TCP 22, and you should scope it to your own source CIDR rather than the whole internet.
Still on the same IP, switch to the Port Forwarding tab and add a rule mapping a public port to the VM’s private port, with your instance as the target. For SSH, that’s public TCP 22 to private TCP 22.

Configuring Egress Rules
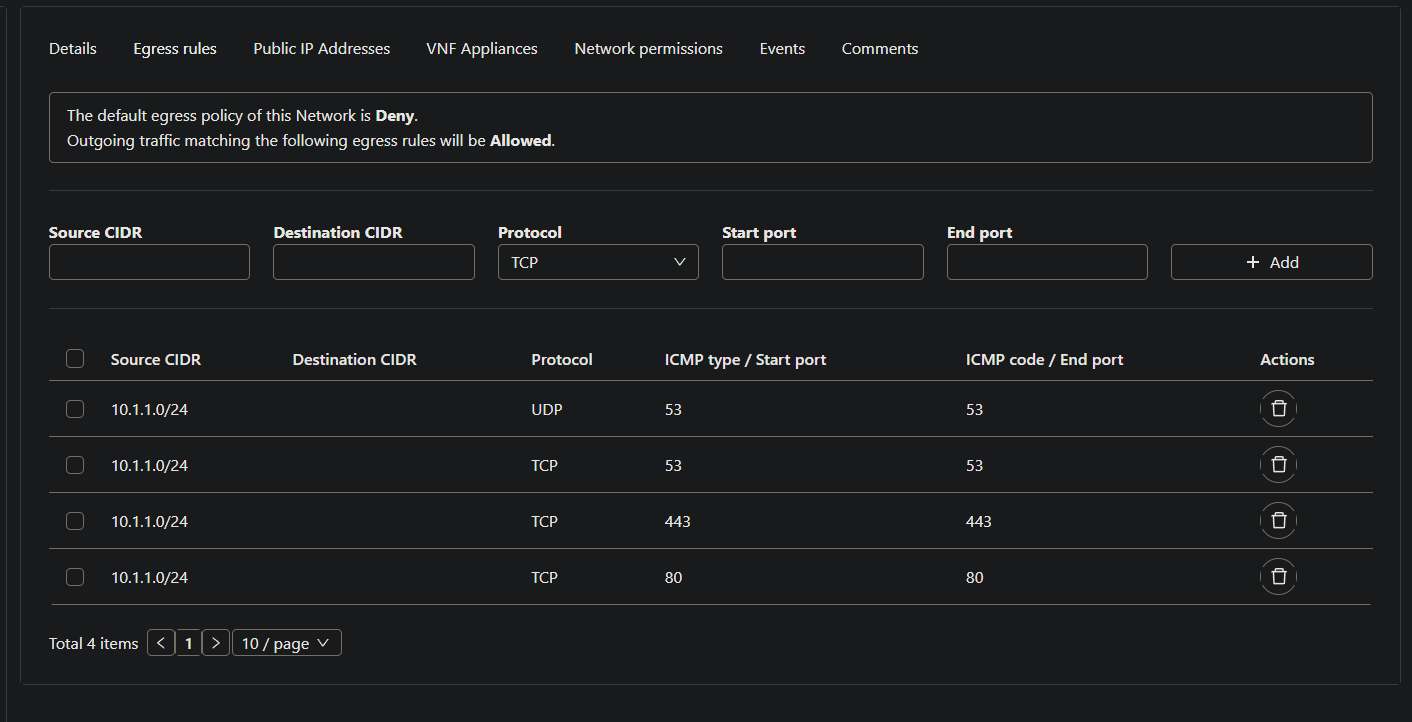
One more piece of networking, and it catches people off guard: an isolated guest network blocks all outbound traffic until you allow it. Until you add egress rules, the VM can’t run apt, can’t resolve DNS, and can’t pull anything from the internet.
Open your network under Network > Guest Networks, go to the Egress rules tab, and allow the VM out to 0.0.0.0/0 for the traffic it actually needs: HTTP on TCP 80 and HTTPS on TCP 443 for package downloads, plus DNS on port 53 over both UDP and TCP.
Connecting to your Virtual Machine
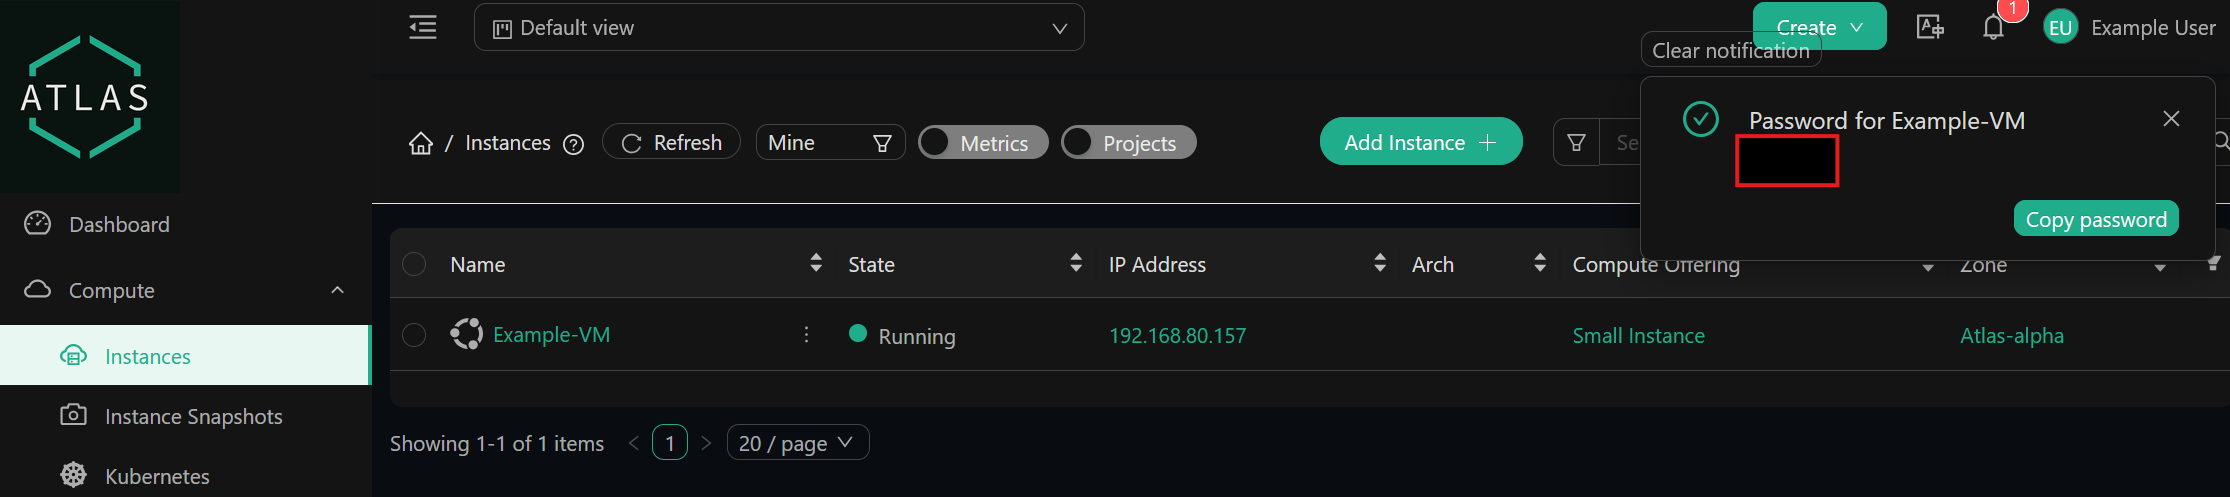
Everything’s in place now: the VM is running, the firewall lets SSH through, and port 22 forwards to it. Grab the public IP from Network > Public IP Addresses and SSH in with ssh <user>@<public-ip>. The login name follows the template, so it’s ubuntu on an Ubuntu image. If the prompt comes back, your first cloud service is up and reachable.
If the connection hangs or refuses, the cause is almost always one of the steps above rather than the VM itself. Walk back through them in order: confirm the firewall has an ingress rule for TCP 22 from your address, that the port-forward actually targets this instance, and that you’re using the right login name for the template. A connection that times out usually points at the firewall or forwarding; one that’s refused or asks for a password it shouldn’t usually points at the user name or the SSH key. From here you’ve got a real machine to build on, install a web server, run a database, or follow one of the hosting tutorials to put a site on it.